
Main Courses
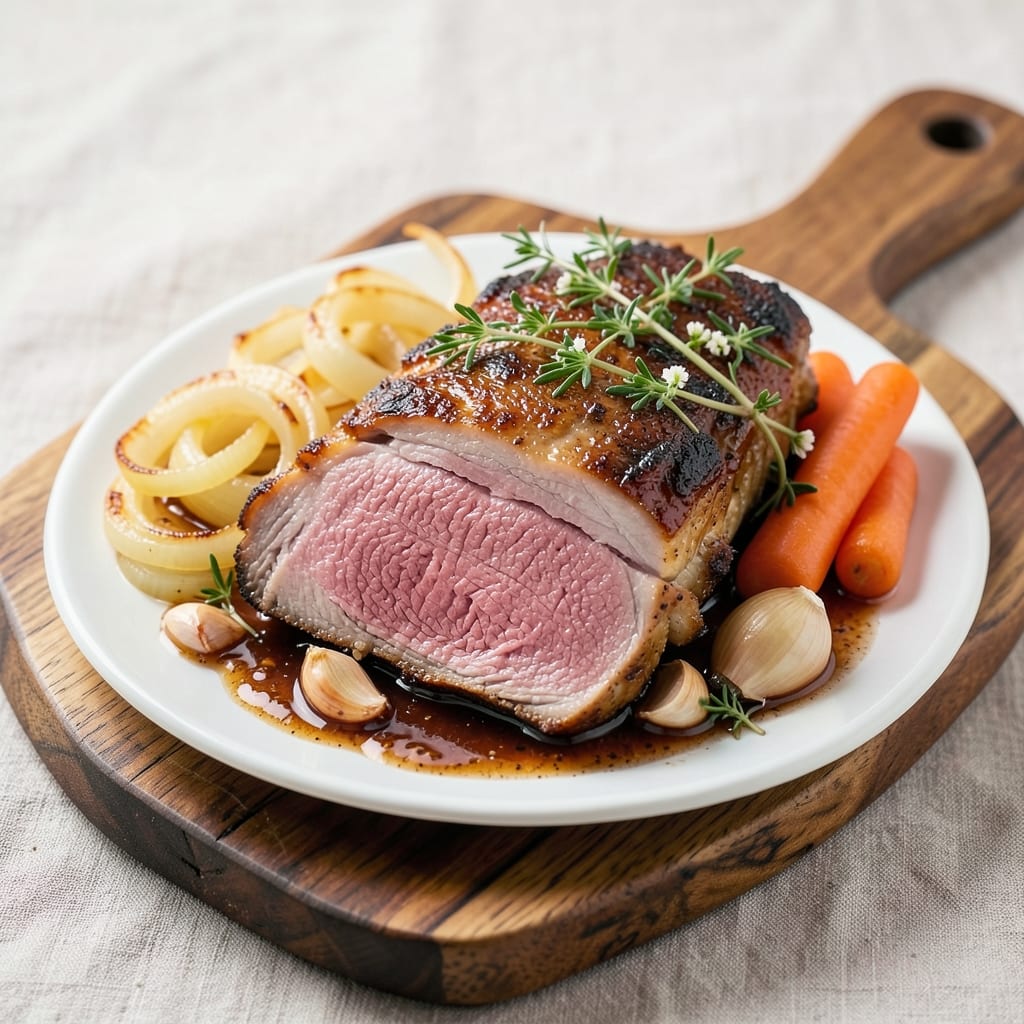
Apple cider chuck roast transforms tough beef into melt-in-your-mouth perfection with a sweet-savory braise that’s impossible to resist. 🔥 The secret lies in slow-cooking the roast submerged in aromatic apple cider, which tenderizes the meat while infusing it with caramelized depth—no fancy techniques required, just patience and a Dutch oven. This method delivers restaurant-quality results that’ll have everyone asking for seconds, whether you’re feeding a crowd or treating yourself to a cozy Sunday dinner.
The beauty of this recipe is its balance: apple cider’s natural sweetness mellows into a rich, slightly tangy sauce that clings to every bite, while warm spices like cinnamon and thyme add complexity. You’ll start with a simple sear to lock in flavors, then let the roast braise for hours until it shreds effortlessly—a process that requires minimal attention but yields maximum reward. The result? A dish that’s hearty enough for winter but light enough for any season, with a sauce that’s perfect for serving over mashed potatoes or roasted vegetables.
What makes this recipe truly special is its versatility. Use it as the centerpiece of a holiday feast or a comforting weeknight meal—either way, the tender, juicy beef and fragrant sauce will steal the show. The slow cooking ensures deep flavor penetration, while the apple cider keeps the dish from becoming overly heavy. Plus, leftovers reheat beautifully, making it a practical choice for meal prep or feeding a hungry family.
Ready to master this crowd-pleaser? The process is straightforward, and the payoff is worth every minute. Whether you’re braising in a Dutch oven, slow cooker, or Instant Pot, this recipe guarantees a dish that’s tender, flavorful, and impossible to resist. Let’s get cooking!
Ingredients for apple cider chuck roast
Six hearty ingredients transform tough chuck roast into melt-in-your-mouth perfection with apple cider's sweet-savory magic.
| Ingredient | Amount | Notes |
|---|---|---|
| Chuck Roast 🥩 | 3 lb | Bone-in for maximum flavor |
| Apple Cider 🍎 | 3 cups | Unfiltered for best flavor |
| Yellow Onion 🧅 | 1 whole | Chopped into large chunks |
| Carrots 🥕 | 4 whole | Large, peeled and halved |
| Garlic Cloves 🧄 | 6 cloves | Smashed for deeper flavor |
| Fresh Thyme 🌿 | 2 sprigs | Or 1 tbsp dried thyme |
| Cinnamon Sticks 🌶️ | 2 whole | For warmth and aroma |
| Bay Leaves 🌿 | 2 whole | Dried, standard size |
| Salt 🧂 | 1 ½ tsp | Diamond Crystal preferred |
| Black Peppercorns 🌶️ | 1 tsp | Freshly cracked preferred |
| Olive Oil 🫒 | 2 tbsp | Extra-virgin for searing |
| All-Purpose Flour 🌾 | 1 tbsp | For dredging roast |
| Fresh Rosemary 🌿 | 1 sprig | Optional for extra aroma |
The chuck roast is the star here, and bone-in cuts deliver the deepest flavor. Look for well-marbled beef at Whole Foods or your local butcher shop—the fat renders during cooking, keeping the meat juicy. A 3-pound roast serves 6 generously, but if you're feeding a crowd, scale up. For maximum tenderness, choose a cut with good marbling, not lean meat. The apple cider should be unfiltered (like Mott's or Woodchuck)—it adds complexity that filtered versions miss. Fresh thyme and rosemary sprigs elevate the dish, but dried will work in a pinch (use half the amount).
No fresh thyme? Dried thyme at one-third the amount works fine. Running low on cinnamon sticks? Ground cinnamon at half the amount is a decent swap, though the sticks infuse more aroma. The flour is just for dredging—skip it if you're using a slow cooker or Instant Pot. For extra depth, add a splash of apple brandy or bourbon (about 2 tbsp) with the cider. The carrots and onions can be swapped for potatoes if you prefer—just increase to 6 medium potatoes, peeled and quartered. And if you're short on time, pre-cut vegetables from the grocery store save 15 minutes of prep.
This dish tastes even better the next day as flavors meld. Store leftovers in an airtight container in the fridge for up to 5 days, or freeze for 3 months (portion into freezer bags for easy reheating). The sauce thickens as it cools, so add a splash of apple cider or water when reheating. For meal prep, double the recipe—the extra portions make great sandwiches or tacos later in the week. The roast shreds easily once cooled, so let it rest for 10 minutes before serving.
Why You'll Love This Recipe
- One-Pot Magic: I swear by this—just toss the chuck roast, onions, carrots, and garlic into a Dutch oven with apple cider, add a splash of broth, and let the slow cooker do the rest. No flipping pans, no stress, just hands-off perfection.
- Sweet-Savory Crave: That caramelized apple cider glaze? It’s like fall in a bite—tender meat with just enough sharpness from the onions and garlic to cut through the richness. Honestly, the first time I made it, I ate a piece straight from the pot.
- Leftovers That Win: This roast actually improves the next day. Shred it for sandwiches, toss it into pasta, or reheat slices for breakfast—my kids beg for it even when I’m sick of it. (Yes, even on a Tuesday night.)
- Budget Hero: A chuck roast is cheap, but it feeds six for under $15. The apple cider adds depth without breaking the bank, and you’re left with enough for lunches that’ll save you from takeout. My secret weapon for stretching meals.
Step-by-step instructions for apple cider chuck roast
Transform tough chuck roast into melt-in-your-mouth perfection using this slow-braised method.
🍳 Step 1: Sear the Roast for Deep Flavor
Pat the 3 lb chuck roast completely dry with paper towels—this ensures maximum browning. Heat a heavy Dutch oven over medium-high heat and add the 2 tbsp olive oil. Once shimmering, add the roast and sear on all sides for 5-6 minutes total, pressing down gently with a spatula during the first minute. This prevents curling and ensures even contact with the pan.
You'll know it's ready when the surface develops a deep golden-brown crust. Remove the roast and set it aside on a plate. The seared crust forms the flavor foundation for your braise, so don't rush this step—patience here pays off later.
👨🍳 Step 2: Build the Aromatic Base
In the same Dutch oven (no need to wipe it clean), add the chopped yellow onion and halved carrots. Cook for 5-6 minutes until they begin to soften and caramelize slightly. Add the 6 smashed garlic cloves and cook for another 30 seconds until fragrant—this prevents them from burning.
Stir in the 1 tbsp all-purpose flour, scraping up any browned bits from the bottom. These bits, called fond, contain concentrated flavor that dissolves into your braising liquid. Cook for 1 minute until the flour turns a light golden color and smells toasty.
🥘 Step 3: Deglaze and Add Seasonings
Pour in the 3 cups apple cider, scraping the bottom of the pot to release all those flavorful browned bits. Add the 2 cinnamon sticks, 2 bay leaves, 2 sprigs fresh thyme, 1.5 tsp salt, 1 tsp black peppercorns, and 1 sprig fresh rosemary. Bring to a gentle simmer over medium heat for 5 minutes to let the spices infuse the liquid.
Here's the thing—this is where the magic happens. The apple cider's natural sweetness and acidity will tenderize the meat while the spices create a complex, aromatic base. You'll notice the liquid reduces slightly and develops a rich, spiced aroma—this is your cue that the seasonings are working their magic.
⏰ Step 4: Braise Until Fork-Tender
Return the seared roast to the Dutch oven, along with any accumulated juices. Cover tightly with a lid and transfer to a 325°F oven. Braise for 3 hours, then carefully flip the roast and continue cooking for another 3 hours (or until a knife slides in easily).
Real talk: This is where you need to resist the urge to check constantly. The slow, moist heat is doing all the work—breaking down collagen and transforming tough muscle fibers into tender perfection. The roast should be fork-tender with rich, caramelized juices surrounding it in the pot.
🔪 Step 5: Rest and Serve with Braising Liquid
Remove the roast from the pot and transfer it to a cutting board. Tent loosely with foil and let it rest for 15-20 minutes. This resting period allows the juices to redistribute throughout the meat, ensuring every bite stays moist and flavorful.
While the roast rests, skim off any excess fat from the braising liquid and adjust the seasoning if needed. The roast should slice easily against the grain into ¼-inch thick pieces. Serve the meat with generous ladles of the aromatic braising liquid poured over the top—this is where all the accumulated flavors shine.
Pro Tips For Making Apple Cider Chuck Roast
- Sear the Roast First: I learned this the hard way—skipping the sear means a bland, gray-brown crust instead of deep, caramelized flavor. Heat your Dutch oven until it’s smoking hot, then sear the chuck roast on all sides for 3-4 minutes per side. The Maillard reaction here is non-negotiable for that restaurant-quality bite.
- Deglaze with Apple Cider: After searing, don’t just dump in the cider—scrape up those browned bits with a wooden spoon first. Add ½ cup of the cider, let it bubble and reduce by half before adding the rest. This step turns your pan drippings into a richer, more flavorful sauce. (Yes, even if you’re impatient like me.)
- Cut Carrots into Even Sticks: Uneven carrots cook at different rates, leaving some rubbery while others fall apart. Aim for ½-inch thick sticks—thick enough to hold shape but thin enough to tenderize in the same time as the meat. No one wants mushy veggies ruining the dish.
- Brown the Onions First: Sauté the onions until they’re deep golden, almost caramelized, before adding garlic. This adds sweetness and depth that raw onions can’t match. Skip this, and your cider sauce will taste flat. (Pro move: Add a pinch of sugar if your onions are stubborn about browning.)
Storing and reheating your apple cider chuck roast
Fridge Storage
Let your apple cider chuck roast cool completely before storing in an airtight container with the braising liquid. I like using glass Pyrex containers because they keep flavors fresh longer. Store in the fridge for up to 5 days—the flavors actually deepen as the spices meld with the beef. 🥫
Freezer Prep
For longer storage, divide the roast and sauce into freezer-safe bags or containers, leaving 1-inch headspace for expansion. Label with the date—this dish freezes beautifully for 3 months. When ready to eat, thaw overnight in the fridge for even reheating. I always freeze extra sauce separately for quick use in sandwiches or tacos later.
Stovetop Reheat
My preferred method is stovetop reheating because it preserves texture. Transfer the roast and sauce to a pot, add ¼ cup apple cider or water, and simmer on low heat for 10-15 minutes until reaching 165°F. Stir occasionally to prevent sticking—this method keeps the meat tender and the sauce rich. 🔥
Slow Cooker Option
For hands-off reheating, transfer everything to a slow cooker on low heat for 2-3 hours. Add a splash of apple cider if the sauce thickens too much. The gentle heat prevents drying out the roast while keeping the sauce velvety. This is perfect for busy weeknights when you need a quick, flavorful meal.
Microwave Shortcut
When you're in a hurry, cover the roast and sauce with a damp paper towel and microwave on 50% power in 2-minute intervals, stirring between each. This prevents overcooking the outside while warming through. Add a splash of apple cider if the sauce seems too thick—it should coat the back of a spoon easily.
Leftovers Magic
Shred the reheated roast for apple cider pulled beef sandwiches, or serve it over mashed potatoes with extra braising sauce. The flavors are even better the second day—trust me, I've tested this! Store leftovers in small portions for easy grab-and-go meals during the week. The sauce also makes a fantastic gravy for other dishes. 💫
Nutrition facts
Frequently asked questions
Can I substitute apple cider with apple juice?
Apple juice works in a pinch, but it lacks the depth of flavor and acidity that apple cider provides. The natural sweetness and slight tanginess of cider tenderize the meat better and create a richer sauce. If you must use juice, add 1 teaspoon of apple cider vinegar per cup to mimic the acidity.
How do I know when the chuck roast is done?
The roast is ready when it reaches an internal temperature of 203°F and a knife slides in easily. For best results, use a meat thermometer—this ensures perfect tenderness without overcooking. The braising time varies slightly based on your oven, so always check for doneness rather than relying solely on time.
Can I make this in a slow cooker instead of the oven?
Sear the roast first, then transfer everything to a slow cooker on low heat for 8-10 hours. The slow cooker method is perfect for hands-off cooking. Just add ½ cup of water or apple cider if the liquid reduces too much during cooking. The result will be just as tender and flavorful!
What are the best sides to serve with this dish?
This rich, spiced roast pairs beautifully with hearty sides like creamy mashed potatoes, roasted root vegetables, or crusty bread for soaking up the sauce. For a lighter option, try a fresh green salad with a tangy vinaigrette to balance the richness. The apple cider flavors also complement buttery noodles or cornbread.
Why did my roast turn out dry?
Overcooking or skipping the resting period are the most common causes. Always let the roast rest for 15-20 minutes before slicing—this allows juices to redistribute. Also, avoid checking the temperature too early; chuck roast needs time to tenderize. If it's slightly underdone, return it to the oven for another 30 minutes covered with foil.